Automatically adding your logo with the website logo feature
Certain layouts automatically insert your logo (note that it must be a JPEG image) if you have uploaded it by using the Website Logo feature and you have enabled this feature. This is a two-part process, uploading the image, and then enabling its use. You can also choose whether to display the logo on the front page of your website.
Part 1: To upload an image to use automatically in those layouts which allow this feature:
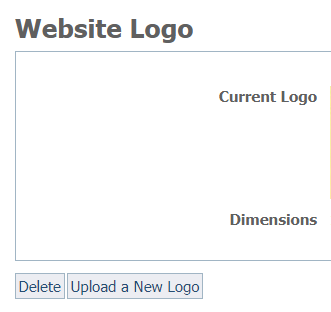
Go to Website > Logo and click Upload a New Logo to upload your JPEG logo image. No other format other than JPEG can be used.
If you have previously uploaded a logo image, it will appear to the right. If you want to delete it, tap it to highlight, then click the Delete button at the bottom left. To upload it, click the Upload a New Logo button.
If you use a layout that automatically inserts your logo from the Logo page (Website > Logo), the image you upload will be resized to 140 x 140 pixels. Now that you have uploaded the image, enable the use of your logo image by following the next set of instructions.
Part 2: Enabling the use of your logo image
You must enable your logo image in two settings for it to be used automatically in certain layouts. Some layouts use the image based on the Logo and Background setting, and others use the image based on the Front Page Options settings.
You must enable the website logo feature in order for it to appear automatically in layouts that include this feature.
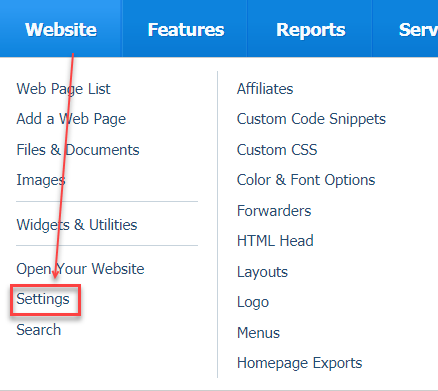
- Navigate to Website > Settings.
- Scroll down to the Logo and Background option.
- Tick the Yes radio button next to Use your logo to enable the logo image to be used automatically in your page layout.
- Scroll down to the Front Page Options sections.
- Tick the Yes radio button next to Display Logo on front page to allow the logo to be used on the front page of your website.
- Click the Save Settings button in the lower left to save your selection.
Uploading the logo to your website to insert in your pages
To use a logo on your website pages either when your layout does not automatically insert it or when you would like to insert it in a different place in a page, you must first upload it as a website image. See the Managing web images section of this guide for more information about web images versus the pictures and video that you upload to the animal browse pages. Once you upload your logo as a website image, you can use it on any or every page of your website, and you can also use it in email marketing campaigns.
The logo image is uploaded and stored on our server. There is no limit to the number of images or storage space you can use for website images. Once your logo is uploaded, you can insert it anywhere in your web pages.
To upload a website image:
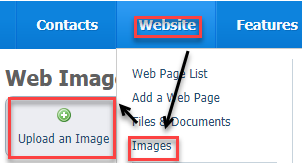
- Select Images from the Website menu.
- Click Upload an image.
We recommend you use an image that is at least 200 x 200 pixels. See the instructions below for viewing your website images. By clicking the image icon to the left of each image, you can see the size of the image.
Viewing or deleting your website images
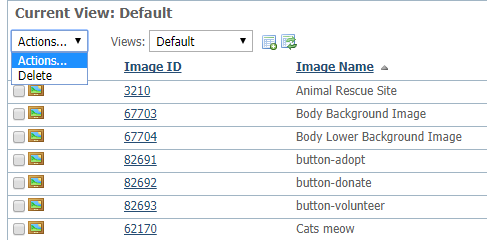
Access your website images by selecting Images from the Website menu, then click Images. The data view list for the website images displays. Like the other data view lists in your service, you can select multiple items by checking them, then you can delete them at once.
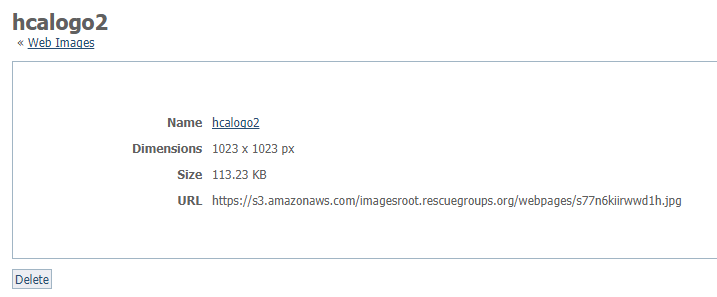
Clicking the image icon to the left of each item displays the image, and clicking the Image ID opens a view of the information about the image. From there, you can delete the image.
Using the logo on Facebook
The logo image must be at least 200 x 200 pixels in order for Facebook to use the logo as your website's image. See the following Facebook web page for more information about your organization will appear on Facebook:
