Navigate to the Email Marketing section of your account. These are the steps for creating an email campaign. Detailed instructions are below. Once you create your first campaign email, you'll wonder how you lived without this tool! To start your email campaign, click Add a Campaign. This basic information defines the new campaign for you: you'll give your campaign a descriptive name, and fill out some other information about the campaign. We offer a couple of templates you can select, or you can select the blank template and design your own. Click Select Template. To select the template, click Choose under the template you would like to use. (For this example, I've already created a custom template and I am selecting my customized template.) You can edit both the look of the marketing email and the contents of the message: You can change the overall font family, font size, and colors in your template by clicking the Edit HTML Email Look & Feel button. To change the colors in the email: When adding content: To change the text in the message, click the Edit HTML Email Contents button. Here's a tip: You can include a signup box so that your contacts can elect to receive more emails from you. To find out how read this page: Email Sign Up Widget Code. Select the part of the email message you want to change: For this example, I clicked Header Content. When you've completed your changes, remember to click Save Changes. Click the Preview Email button to preview the entire email that will be sent. After previewing, click Back to Campaign. It's a good idea to send a test message of the email campaign to see what it will look like once sent. If you don't like it, return to the editing screens to change the campaign. Test messages count toward your total emails. Please be sure to take this into consideration when sending test emails. To send the test message to yourself, simply click Send a Test Message. Add the groups or the contacts to whom you are sending this campaign. Since you have a few ways to add contacts to receive this email. You may want to review Managing Email Marketing Campaign Subscriptions for more detailed information. Click [ Name of Category ] Subscriptions to start to add people for the campaign. In this example, I selected the category Fundraisers. Click one of the following buttons: Each time you send out a new email, you may want to "re-add" contacts from your contacts (Add Subscriptions from Contacts) or groups like donors, adopters, etc. (Add a Group). Doing this each time will ensure you've added in any new contacts to the subscription. Now that you've reviewed your email and sent yourself a test, you are ready to activate your campaign! The run schedule tells the tool when and how many times to send out your emails. Congratulations! You've created and sent your email campaign to your subscriber list.
Add a Campaign
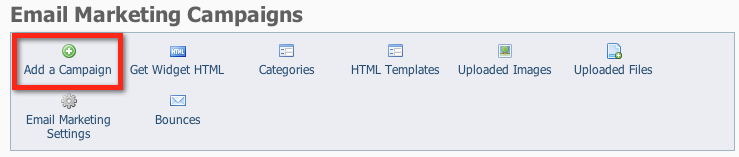
Enter the basic campaign information

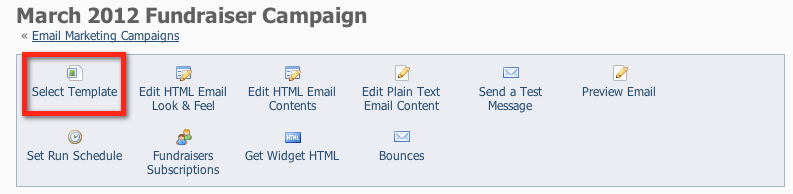
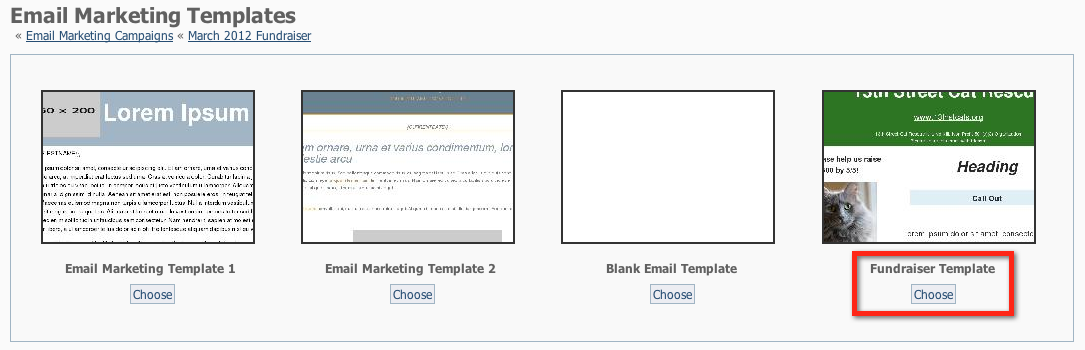
Select your template
Edit Your email campaign

Editing the HTML look and feel
![]()
If you know the hexadecimal color code, enter it in the appropriate field (#ffffff).
If you do not know the hexadecimal code, click the multicolored squares to open the ColorPicker and select a color.
Edit HTML contents
If you are pasting text from Microsoft Word or an email, be sure to use the Paste from Word, or Paste as Plain Text icons. This removes any non-HTML-compliant formatting. These icons are on the top row.
![]()


Preview Your Email


Send a Test Message to Yourself

Add contacts/groups


Activate the campaign


Set the run schedule


It's important to note that emails sent from the Email Marketing Service will include your organization's address from your account. This is a requirement of the CAN-SPAM Act. The organization's street address will always be included.
Overview
Content Tools