Page History
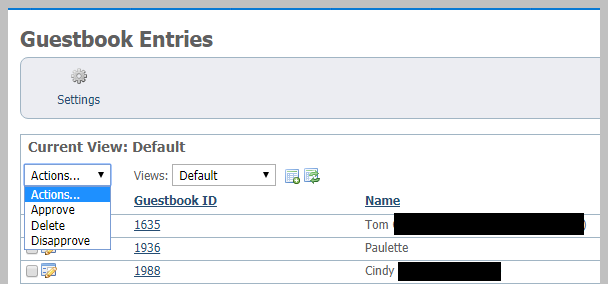
The Guestbook captures the name, email address, and date of the entry. When you go to the Guestbook Entries page, you can read the entries by selecting them, and then you can approve, delete, or disapprove each entry separately or in bulk from the data table.
Here is an explanation of the headings in the data table:
| Tip | ||
|---|---|---|
| ||
You can find the Guestbook page by going to Features > Guestbook. |
| Expand | ||||||||||||||||||||||||||||
|---|---|---|---|---|---|---|---|---|---|---|---|---|---|---|---|---|---|---|---|---|---|---|---|---|---|---|---|---|
| ||||||||||||||||||||||||||||
|
Listed below is a definition of some of the Guestbook fields.
- Name: The name of the poster
...
- Approved: The approval status of the guestbook entry
If you enable the Guestbook, your web site visitors can sign a Guestbook with a message to you and your other visitors.
To approve, disapprove, or delete in bulk, check the entries on which to perform the action, then use the Actions drop-down menu to select the action. You can also select the All checkbox. A popup message will ask you if you are sure, and just click OK.
Guestbook settings
There are only two settings you can change for your Guestbook, whether to enable the feature and how many entries to display on each page.
If you disable the Guestbook, the visitors to your website will see nothing about it. If you enable it, the Guestbook will be added to your menu. You can choose not to display it on your menu.
 When a visitor signs your guestbook, the entry will be waiting for approval. The entry will not be public until you approve it. On the main Guestbook page, you can Approve and Disapprove Guestbook entries, as well as delete them.
| Info |
|---|
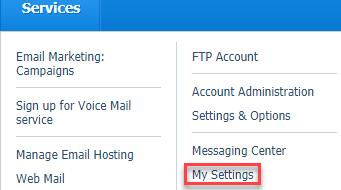
If you select the option in Services > My Settings, you can receive an alert when someone leaves a an email message in your Guestbook. Look for the option, Guestbook submissions. More information can be found in the My Settings section of this User Guide.
|

Overview
Content Tools