Page History
| Note |
|---|
Emails sent from the Email Marketing Service will include your organization's address from your account. This is a requirement of the CAN-SPAM Act. The organization's street address will always be included. |
There are eight steps for creating an email campaign, as follows. Once you create your first campaign email, you'll wonder how you lived without this tool!
- Add a campaign.
- Enter the campaign information.
- Select a template.
- Edit your campaign.
- Preview your email.
- Send a test message.
- Add contacts.
- Activate the campaign.
Adding a campaign
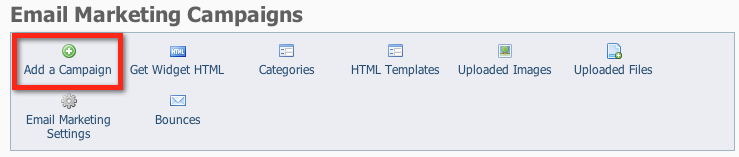
To start your email campaign, click Add a Campaign from the Email Marketing Campaigns menu.
Once you've mastered your first email campaign creation and you realize how easy it is, you can create a campaign when you have the time to design it, and send it out when you're ready.
A campaign may be sent just once, or it could be scheduled to send on a regular basis automatically. You might send a one-time campaign to announce an event or the results of a board meeting. You might schedule a campaign to automatically send an email to your new adopters.
Entering the basic campaign information
The basic campaign information defines the new campaign for you: you'll give your campaign a descriptive name, and fill out some other information about the campaign.
The Add a Campaign page includes the following fields:
- Name: The name of the campaign.
Example: Holidays 2011 Newsletter
- Description: A description of the email campaign that will help your volunteers identify it.
Example: Newsletter for late December with Santa pictures
- Category: The Email Marketing Campaign Category. The Category determines who is going to receive the email.
Example: Newsletters
- Subject: The subject to use as the email subject when sending the campaign.
Example: Happy Holidays from the Iguana Sanctuary!
- Sender Email Address: The sender/from email address to use for the campaign email. The email will come from this address, and all replies will go to this address.
Example: info@iguanasanctuary.org
To add your campaign:
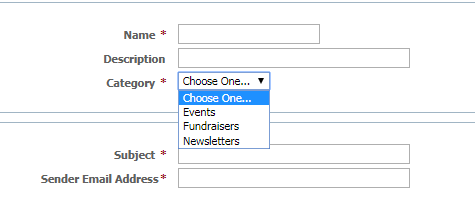
- Name your campaign.
- Enter a short Description (Optional).
- Select a campaign Category (events, fundraiser, newsletter).
- Enter a Subject your readers will see in their inbox. (You can revise this later before you send.)
- Enter the Sender Email Address. (This email will come from this address, and all replies will go to this address.)
- Click Save.
Selecting your template
| Note | ||
|---|---|---|
| ||
Once you select a template for a campaign email message, changes to that template will not change the email message that was based on that template. |
A template is a basic structure, with a particular style built in. You can select from two pre-made templates, or select the blank template and design your own.
The template includes the layout, design, and colors that will be used for the email. After you select a template you can change those design elements and add text and graphics.
| Info | ||
|---|---|---|
| ||
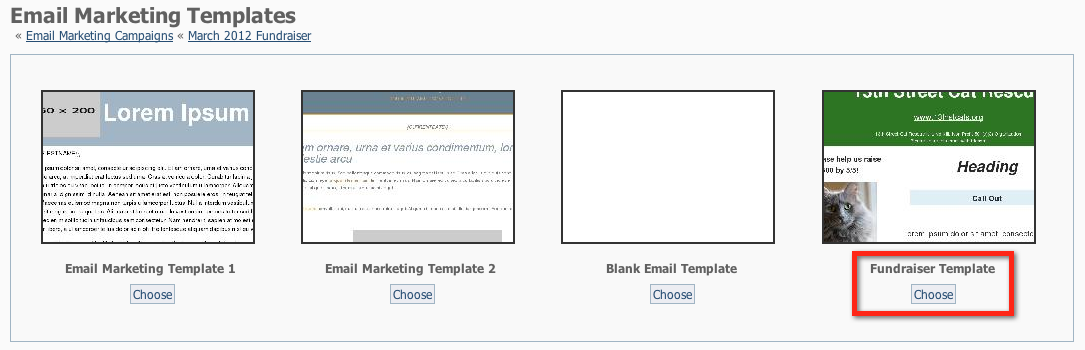
The Email Marketing Templates page lists the built-in templates and the custom templates you create and save. |
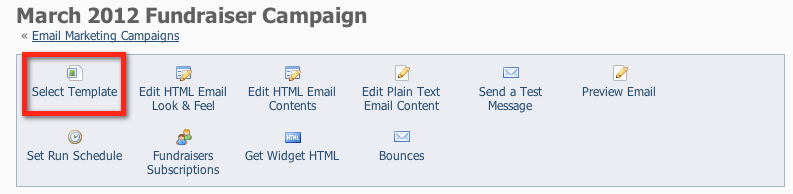
- Click Select Template.
- Click Choose under the template you want to use. (For this example, we've created a custom template and we are selecting the custom template.)
| Tip |
|---|
To see a preview of a template, click the name of the template, such as Fundraiser Template in the example above. |
Overview
Content Tools