Page History
| Note |
|---|
Emails sent from |
| Excerpt |
Navigate to the Email Marketing section of Service will include your organization's address from your account.
This is a requirement of the CAN-SPAM Act. The organization's street address will always be included. |

There are eight steps for creating an email campaign, as follows. Detailed instructions are below. Once you create your first campaign email, you'll wonder how you lived without this tool!
- Add a campaign.
- Enter the campaign information.
- Select a template.
- Edit your campaign.
- Preview your email.
- Send a test message.
- Add contacts.
- Activate the campaign.
...
Adding a
...
campaign
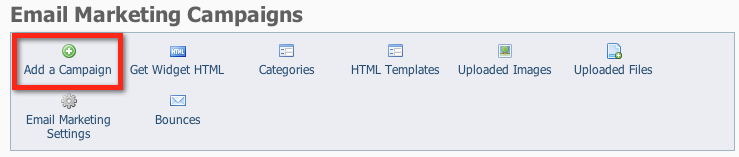
To start your email campaign,
...
click Add a
...
Campaign from the Email Marketing Campaigns menu.
...
Entering the basic campaign information
...
The basic campaign information defines the new campaign for you: you'll give your campaign a descriptive name, and fill out some other information about the campaign.
- Name your campaign.
- Enter a short Description (Optional).
- Select a campaign Category (events, fundraiser, newsletter).
- Enter a Subject your readers will see in their inbox. (You can revise this later before you send.)
- Enter the Sender Email Address. (This email will come from this address, and all replies will go to this address.)
- Click Save.

...
Selecting your template
...
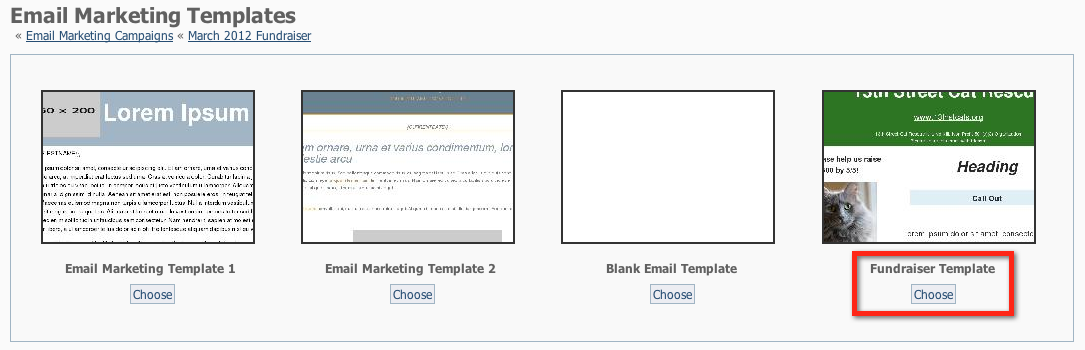
You can select from two templates, or
...
select the blank template and design your own.
...
- Click Select Template.
...
- Click Choose under the template you
...
- want to use. (For this example,
...
- we've
...
- created a custom template and
...
- we are selecting the custom template.)
Edit
...
your new campaign
...
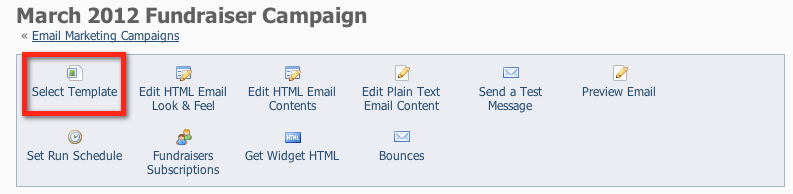
You can edit both the look of the marketing email and the contents of the message:

- To adjust the template font, font size, colors, and width click Edit HTML Email Look & Feel.

- To edit the contents of your campaign (text, photos etc), click Edit HTML Email Contents.
Editing the HTML look and feel
| Panel |
|---|
You can change the overall font family, font size, and colors in your template by clicking the Edit HTML Email Look & Feel button.
|
...
Changing the colors in the email
To change the colors in the email:
- Select the colors for the background and fonts.
If you know the hexadecimal color code, enter it in the appropriate field (#ffffff).
If you do not know the hexadecimal code, click the multicolored squares to open the ColorPicker and select a color. - Select the font family and size.
- Click Refresh Preview at any time to view your changes in the Preview area below.
- When done, click Save Changes.

...
Editing the HTML contents
| Note | ||
|---|---|---|
| ||
When adding content:
|

To change the text in the message, click the Edit HTML Email Contents button.
![]()
| Tip |
|---|
: You can include a signup box so that your contacts can elect to receive more emails from you. To find out how read this page: Read the page,Email Sign Up Widget Code. panel |
Select the part of the email message you want to change:
- Click Header Content, Main Content, or Footer Content to edit the contents of each of those sections of your email.

...
For this example,
...
we clicked Header Content.
...
- Edit the content by typing in the editor (the green area in our example)
- Format your text using the icons in the editor.
- You can also Upload an Image or File by clicking the buttons Upload an Image or Upload a File.

- When done, click Preview at the bottom of the page to see your changes.
...

- After reviewing your content, click Back to Campaign.

...
- When you've completed your changes, remember to
...
- click Save Changes.

Preview Your Email
| Panel |
|---|
Click the Preview Email button to preview the entire email that will be sent.
|
| Panel |
|---|
After previewing, click Back to Campaign.
|
Send a Test Message to Yourself
...
Sending a test message
To check the way your email will be viewed by the recipients, send a test email to yourself. If you don't like it, return to the editing screens to change the campaign.
| Note | |||||||||||||||
|---|---|---|---|---|---|---|---|---|---|---|---|---|---|---|---|
Test messages count toward your total emails. Please be sure to take this into consideration when sending test emails .
Add contacts/groupsAdd the groups or the contacts to whom you are sending this campaign.
Activate the campaignNow that you've reviewed your email and sent yourself a test, you are ready to activate your campaign!
Set the run scheduleThe run schedule tells the tool when and how many times to send out your emails. Panel | 
Congratulations! You've created and sent your email campaign to your subscriber list. | ||||||||||||||
| Note | |||||||||||||||
It's important to note that emails sent from the Email Marketing Service will include your organization's address from your account. This is a requirement of the CAN-SPAM Act. The organization's street address will always be included. |


Overview
Content Tools