You can edit the "look and feel" of the email, meaning the font size, colors, and width, or you can edit the contents with HTML or as plain text.
- To adjust the template font, font size, colors, and width click Edit HTML Email Look & Feel.

- To edit the contents of your campaign (text, photos etc), click Edit HTML Email Contents.

Options for saving or not saving changes
Undoing changes
At any time you can click Undo Changes and the preview will forget your unsaved changes and reload with the saved Look & Feel settings.
Clicking Undo Changes will cause you to lose any unsaved changes.
Discarding changes
If you decide to not save your changes, click the link, Click to discard unsaved contents. Your changes will be available to you until you decide to either save your changes or discard them.
Leaving your changes unsaved
You can leave the page and come back later. Your unsaved changes will be waiting for you.
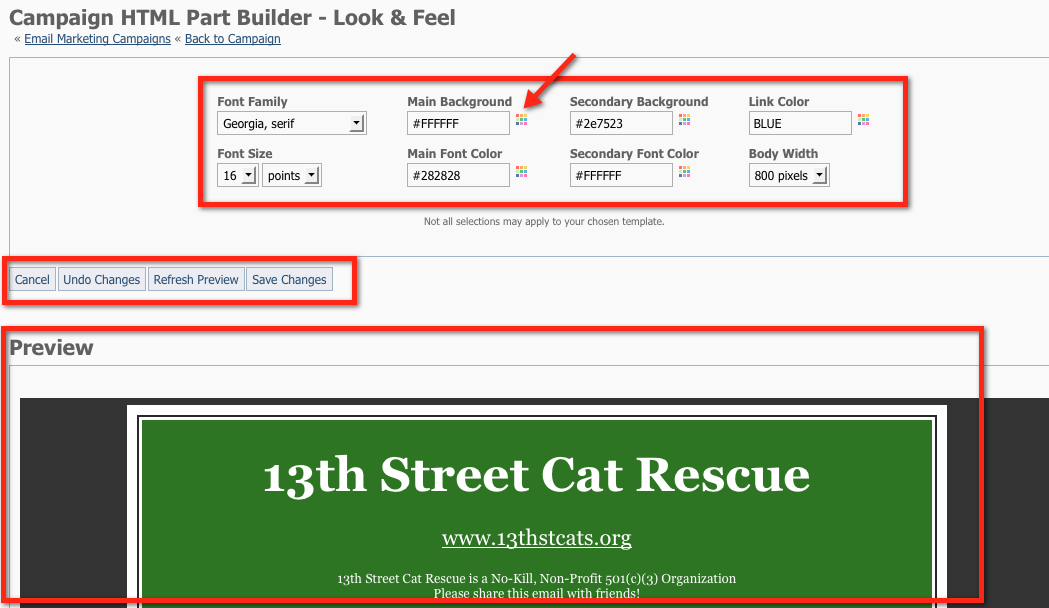
Changing the colors in the email
To change the colors in the email:
- Select the colors for the background and fonts.
If you know the hexadecimal color code, enter it in the appropriate field (#ffffff).
If you do not know the hexadecimal code, click the multicolored squares to open the ColorPicker and select a color. - Select the font family and size.
- Click Refresh Preview at any time to view your changes in the Preview area below.
- When done, click Save Changes.
Editing the HTML contents
When adding content, if you are pasting text from Microsoft Word or an email, be sure to use the Paste from Word, or Paste as Plain Text icons. This removes any non-HTML-compliant formatting. These icons are on the top row.

To change the text in the message, click the Edit HTML Email Contents button.
![]()
Select the part of the email message you want to change:
- Click Header Content, Main Content, or Footer Content to edit the contents of each of those sections of your email.
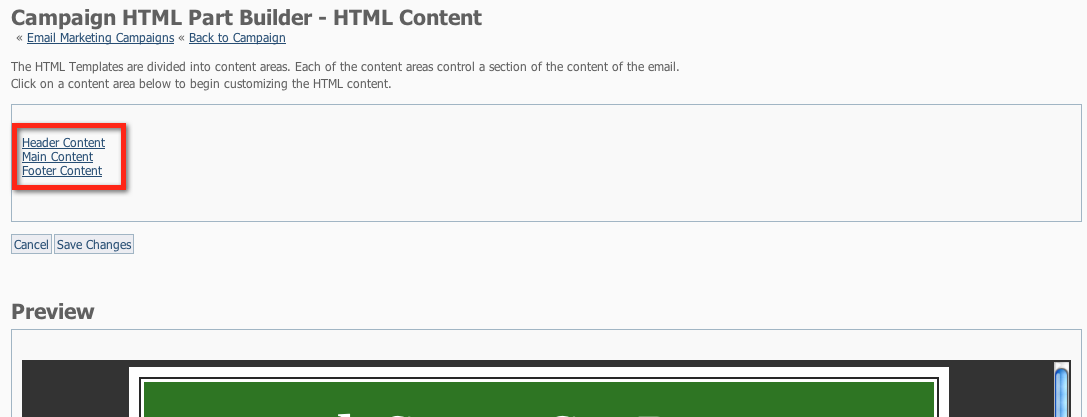
For this example, we clicked Header Content.
- Edit the content by typing in the editor (the green area in our example)
- Format your text using the icons in the editor.
- You can also Upload an Image or File by clicking the buttons Upload an Image or Upload a File.
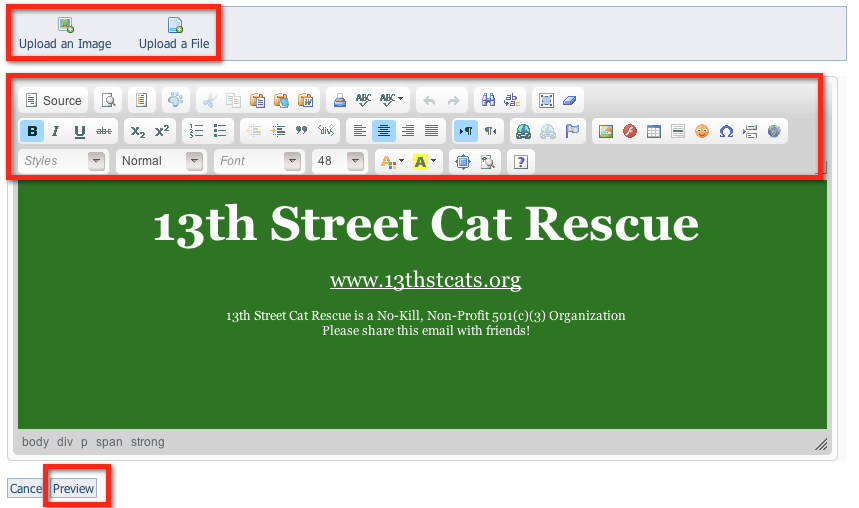
Previewing the campaign
When you're done making changes to your campaign, click Preview at the bottom of the page to see your changes.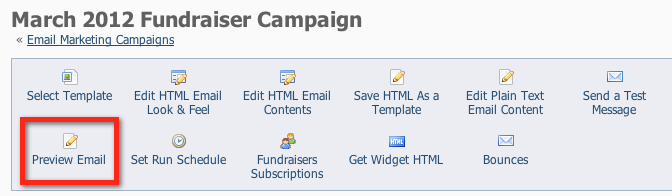
After reviewing your content, click Back to Campaign.
When you've completed your changes, remember to click Save Changes. This step makes the changes permanent.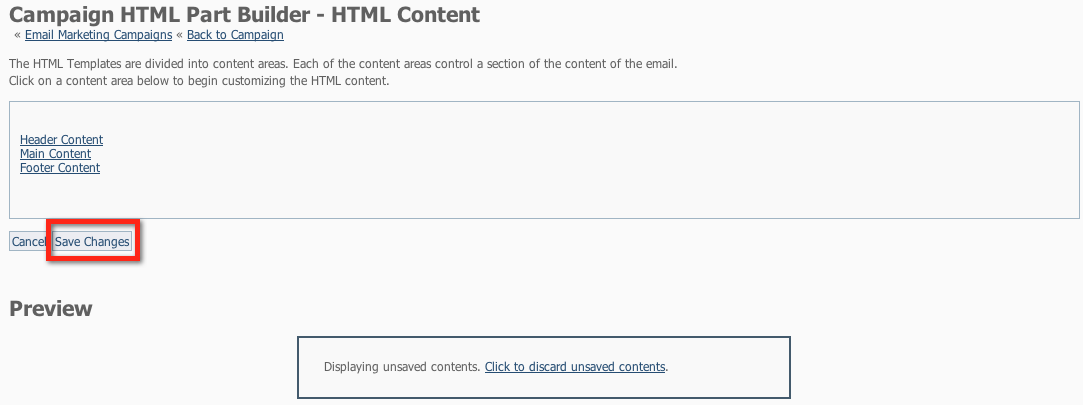
Where do I find it?
You can send a test email for an Email Marketing Campaign by going to Services > Email Marketing: Campaigns, clicking on the Campaign's Name and clicking Send a Test Message.
To send a test message, enter the email address that should receive the test message and click Send.
Once you send yourself a test message, you will not receive a message through the automatic schedule of the Campaign. The Campaign keeps track of who an email has been sent to, and will not resend to the same person. However, you can send additional manual tests.
Overview
Content Tools