Page History
...
You can edit the "look and feel" of the email, meaning the font size, colors, and width, or you . You can edit the contents with of the email using HTML or as plain text.
- Click Edit HTML Email Look & Feel to change the colors and fonts used in the campaign. The campaign HTML Part Builder tool opens to the Look & Feel section.
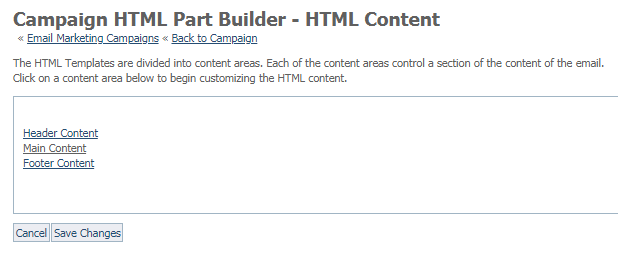
The ColorPicker icons allow you to easily select a new color and apply it to the chosen portion of the email. The current color for the portion of the email you are changing is displayed in a field beneath the color picker, and different color options are displayed to the right as your cursor moves along the color spectrum. For instructions about changing a color for your email campaign, see the section below, Changing the colors in an email. - Click Edit HTML Email Contents to change the text and images in your email campaign. Each section of the email can be edited separately. For instructions on editing the HTML contents, see the section below, Editing the HTML contents.
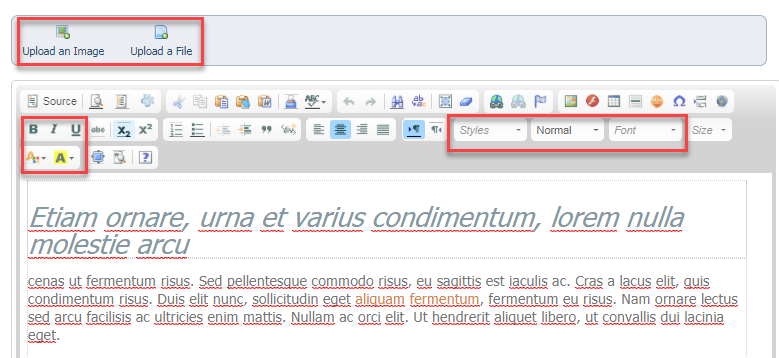
Once you open an area of content, the WYSIWYG editor you notice elsewhere in your account is available. The familiar bold, italic, and underline buttons, as well as the text and highlight colors are to the left, and the styles and font selector are to the right.
You also notice buttons
In addition, you can use HTML variables to enhance your content, such as {SALUTATION/} {FIRSTNAME/} {LASTNAME/} which inserts a greeting, such as "Happy holidays" and the first and last name of the recipient.
Uploading and adding images for your email marketing campaigns
- Buttons at the top of the editor enable you to upload an image or file to your website to use in
...
- your campaign. Once the images are uploaded to your website, you can select them to import into your email.
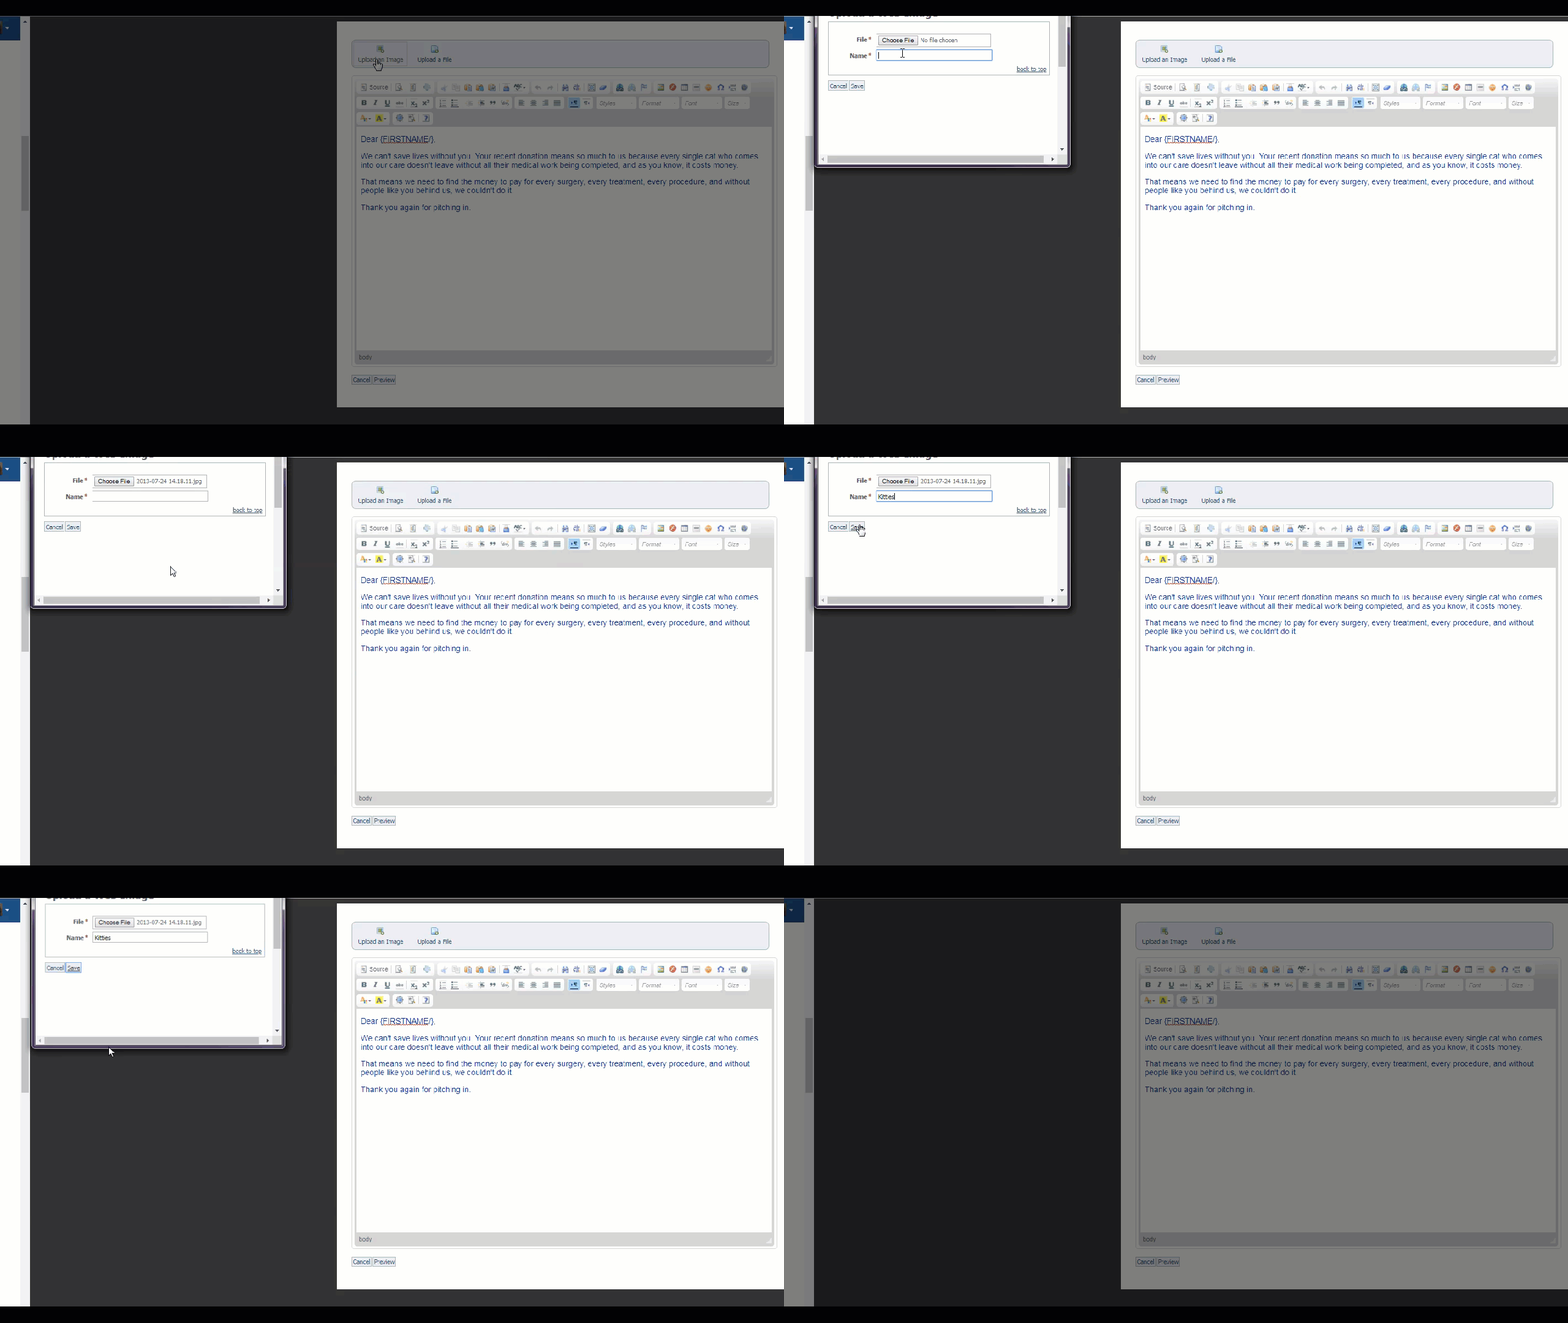
- Click the Upload an Image button from the top menu bar.
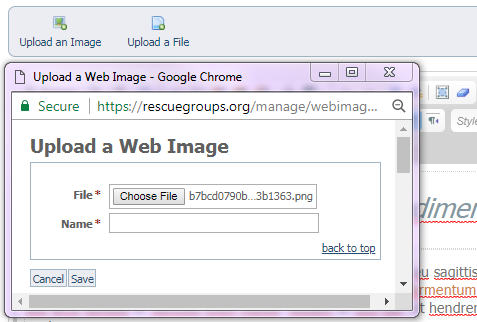
- Choose File button to browse your images for the one you want to use.
- Enter a name for the image beneath the selected image file. Both the upload file and upload image popup boxes say "Choose File." However,
...
- once you open the image upload
...
- popup, you'll see the heading, Upload a Web Image.
Here's an animation showing the process:
When you've uploaded the image to your website, you can add it to an email marketing campaign:
- Open the WYSIWYG editor.
- Select the image icon from the menu at the top of the page.
- Scroll down to the field labeled Image List.
- From the list of your uploaded images, select the image you want to include.
- Add alternative text, if desired. (Alternative text is the text that a sight-impaired user will hear read to them when they use a reading program.)
- Click the green OK button.
Here's an animation of the process of adding an image to your email:
Uploading and adding files for your email marketing campaign
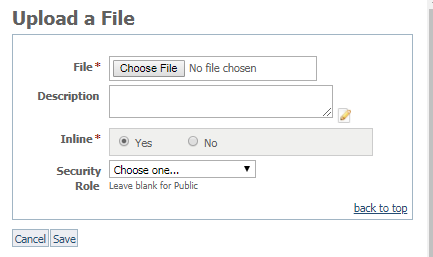
Adding a file to your email marketing campaign is very similar to adding an image. In this case, files are attached to the email and not embedded in the text. Therefore, you may want to bring attention to the attached file.
| Info | ||
|---|---|---|
| ||
The Security Role pertains to the level of permissions you want to give to your volunteers for an uploaded file, and has nothing to do with the email marketing campaign itself. |
Saving or not saving changes
At the bottom of the editing page, there is a button to preview the current section of your email or to cancel it. Once your changes are implemented, you can also
...
click Preview Email
...
from the campaign page to see the entire email.
...
You can save the changes you made to your campaign, or, if you have second thoughts, you can discard the changes and start again.
...
You can send yourself (or anyone else) a test email marketing campaign email. See the chapter Sending a test marketing campaign email.


