Page History
Automatically adding your logo with the website logo
...
feature
Certain layouts automatically insert your logo (note that it must be a JPEG image) if you have uploaded it by using the Website Logo feature and you have enabled this feature. This is a two-part process, uploading the image, and then enabling its use.
Part 1: To upload an image to use automatically in those layouts which allow this feature:
tool. Go to Website > Logo and click Upload a New Logo to upload your JPEG logo image. No other format other than JPEG can be used.
If you have previously uploaded a logo image, it will appear to the right. If If you want to delete it, tap it to highlight, then click the Delete button button at the bottom left.
If you use If you use a layout that automatically inserts your logo from the Logo page page (Website > Logo), the image you upload will be resized to 140 x 140 pixels.
| Note |
|---|
Remember that to use the logo on your web pages in the automatic insertion feature, you must first enable it. |
Enabling your logo
Now that you have uploaded the image, enable the use of your logo by following the next set of instructions.
Part 2: To enable the use of your logo for those layouts that automatically insert the logo image:
| Warning |
|---|
You must enable the website logo feature in order for it to appear automatically in layouts that include this feature. |
- Navigate to Website > Settings.
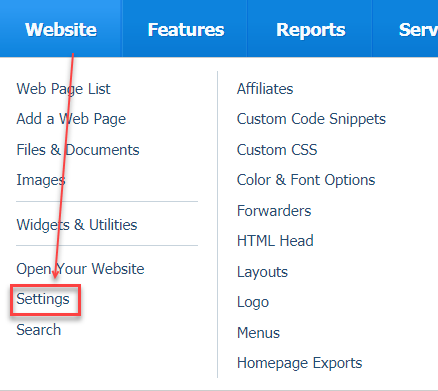
- Scroll down to the Logo and Background option.
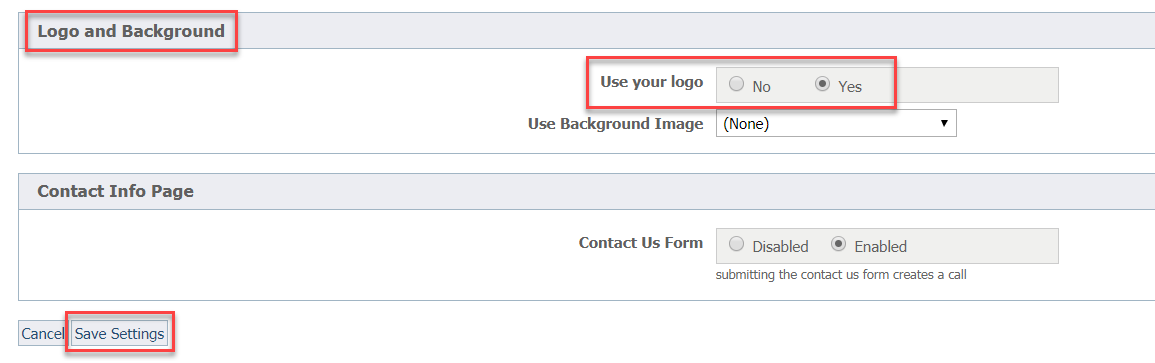
- Tick the Yes radio button to enable the logo image to be used automatically in your page layout.
- Click the Save Settings button in the lower left to save your selection.
...
Overview
Content Tools