Page History
...
Within each toolkit layout, there may be some elements that can be further styled to get a more customized look/feel. You can add custom styles to your own third party website, or to the Toolkit itself.
Add custom styles to your Toolkit
- Open the Toolkit by going to Features > Pet Adoption Toolkit and selecting the Name of your Toolkit
- Select Update Styles

- Enter your CSS details
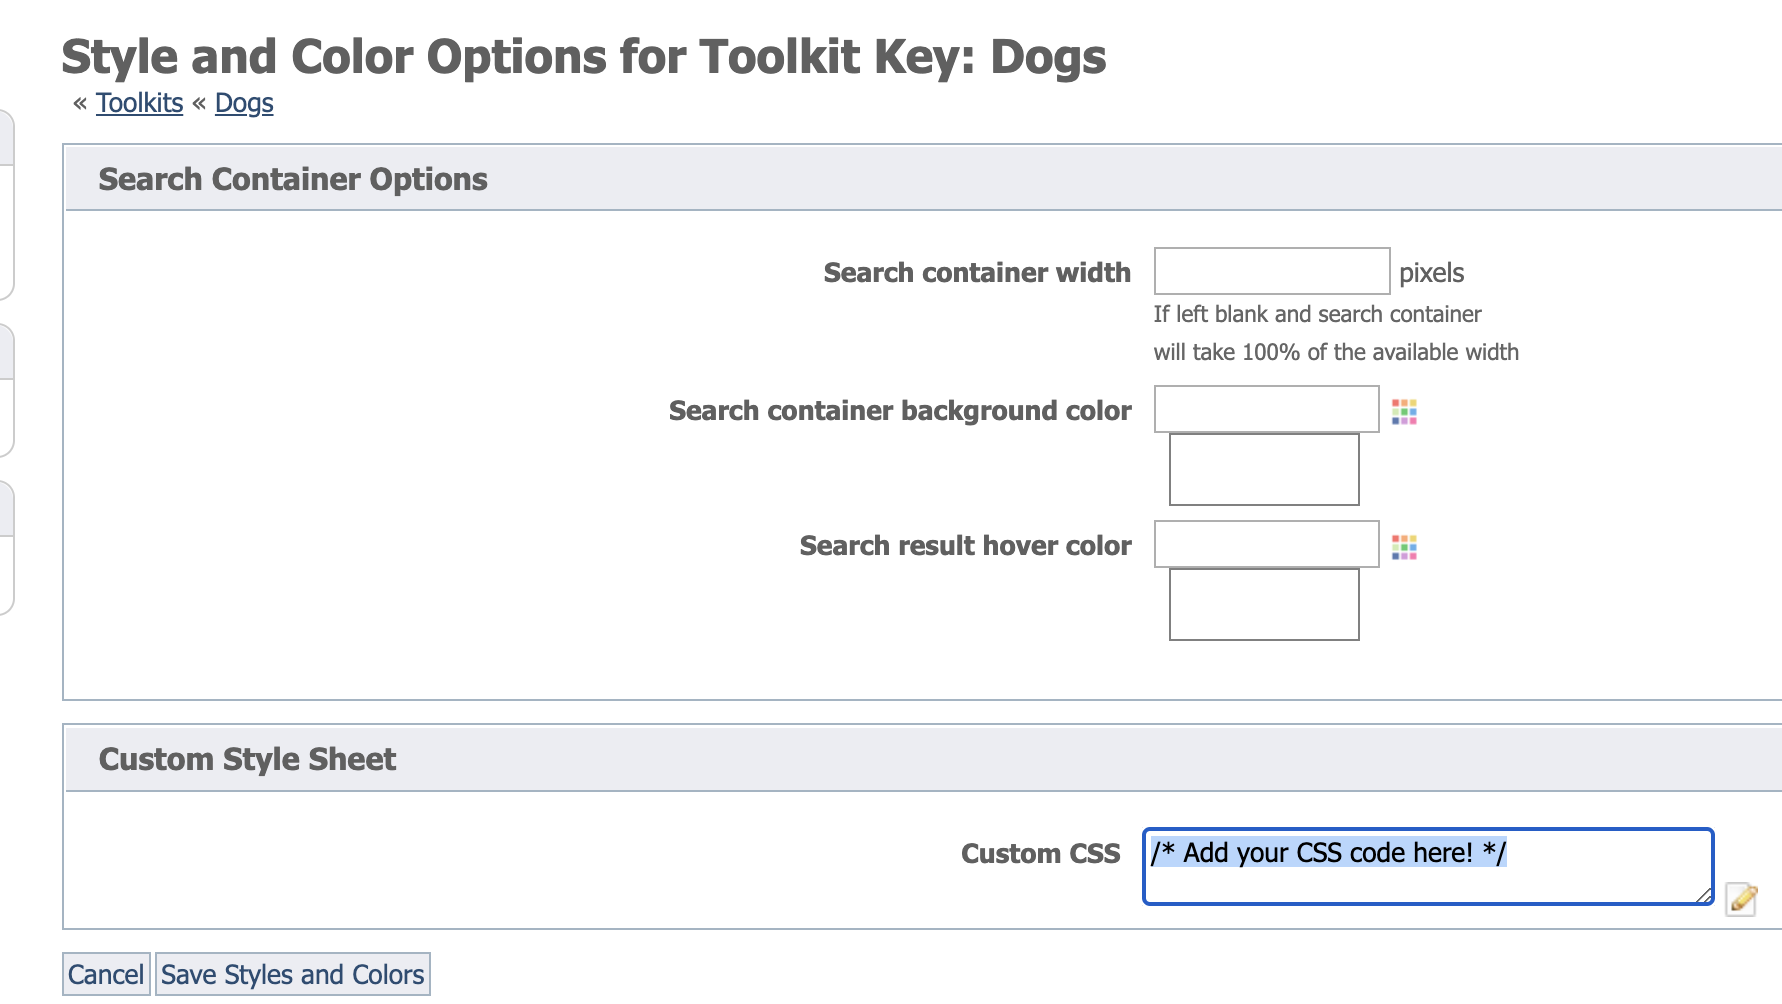
Examples
| Info |
|---|
The different toolkit layouts will have different HTML elements and element names, so the examples below may not work for your layout choice. We recommend that you inspect your Toolkit using your browser's Development Tools to ensure you are using the right CSS styles for your particular Toolkit. |
Examples
Style text under the animal photo in grid view
...
| Code Block |
|---|
.rgtkPetInfoBox{
display: none;
} |
Increase size of images in grid layout and make them square
If you are using the search layout Grid 3, you can add the following CSS to your Toolkit.
| Code Block |
|---|
.rgtkSearchPetPic {
  height: 150px !important;
  width: 150px !important;
  background-size: cover !important;
  background-position: 50% 50% !important;
} |

Increase the size of primary image on Animal Detail page
For pet2 layout, you can customize the size of the primary image, like in the following CSS code.
| Code Block |
|---|
#rgtkPetPicturePrimary_0 {
width: 250px !important;
height: 250px !important;
}

#rgtkPetPicturePrimaryImg_0 {
width: 250px;
height: 250px;
} |
Overview
Content Tools