Select Groups are so named because they are groups of answers that users can select from to answer questions. They are useful to organizations because there are times you want to limit the answers a visitor can give. For instance, you may want to know whether someone has had a dog before. Later, you're going to ask about their history with animals, but in this question, you just want to know did they or did they not have a dog before? A select group lets you limit the answer to Yes or No instead of allowing them to tell you about Fluffy and how much they loved him. That comes later.
Select Groups are used for Dropdown, Checkboxes, Radios, and Multiple Select Box questions.
Use these groups of selections when you want to give users a list of options from which to select.
Examples:
Question: Do you rent or own your home?
Answer: Rent, Own, Lease, Live with family/friends
Question: What type of house do you live in?
Answer: House, Condo, Apartment, Military housing, mobile home
Question: Are there children under 18 in the home?
Answer: Yes, No
Where do I find it?
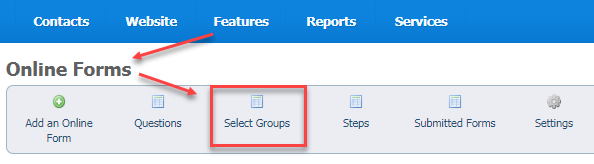
You can find the Select Groups button at the top of the Online Form Select Groups page. Go to Features > Online Forms and click the Select Groups button.
On this page:
As you are creating a form, you may find you need to limit the answers you receive to a question. You can add a select group to that question for visitors to use when they are answering. A select group limits answers to only those you've provided, such as Yes/No.
Adding a Select Group
You can add a Select Group to a question in two places:
- From the Online Forms page: click the Select Groups icon at the top of the page, then click the Add a Select Group icon.
- From the Adding a Question to an online form section: as you create one of the question types that use select groups, you can add the select group to the question.
Adding a Select Group from the Online Forms page
- Go to Features > Online Forms.
- Click the Select Groups icon at the top of that screen.

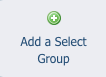
- Click the Add a Select Group icon.
- Name your select group. Example: House Type
- Enter the Options you would like a user to choose from. Example: House, Condo, Apartment.
NOTE: Be sure to enter each option on its own line.
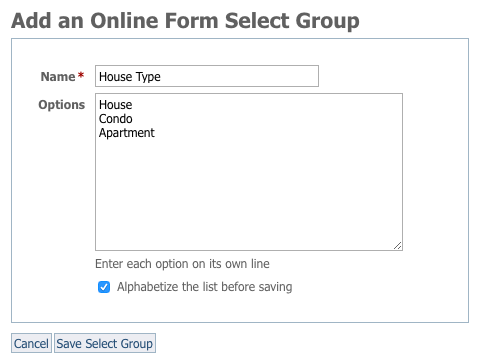
- Click Alphabetize the list before saving if you would like to have the select groups display in alphabetical order. Example: Apartment, Condo, House.
- Click Save Select Group.
Adding a Select Group when adding a question
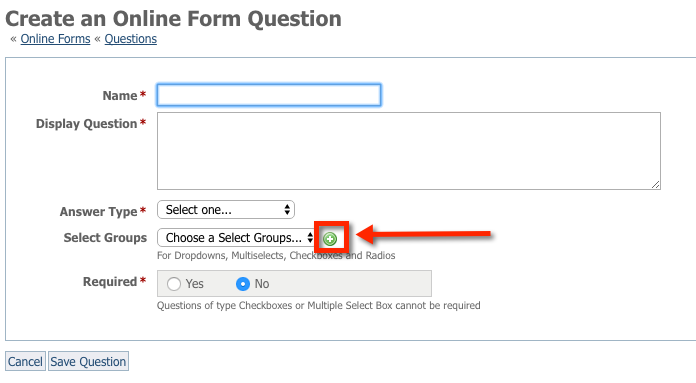
- Create a form question.
- Next to Select Groups, click the green Add Icon (plus sign).
- Name your select group with a short name that describes the question/answer. Example: House Type.
- Enter the Options you would like a user to choose from. Example: House, Condo, Apartment, Military housing, Mobile home.
NOTE: Be sure to enter each option on its own line. - Click Alphabetize before saving if you would like to have the select groups be in alphabetical order. Example: Apartment, Condo, House, Military housing, Mobile home.
- Click Save Select Group.
Editing a select group
- Go to Features > Online Forms > Select Groups. The list of your existing select groups displays.
- Click the Edit icon next to the Select Group you would like to edit.

- Add or remove items from your select group Options.
- Click Save Select Group
Popular Questions
- 0votes
- 0votes
- 0votes
- 0votes
- 0votes
- 0votes
- 0votes
- 0votes
Have a question about this topic?
Overview
Content Tools