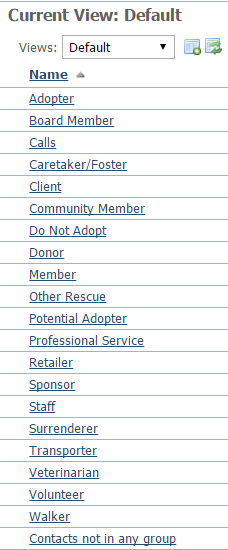
The default groups available to you cover many of the groups that any rescue organization might want to have, such as adopters, donors, and volunteers. There is also a "Do Not Adopt" (DNA) default group. By adding names to this list, your volunteers can see the names that are flagged as those who should not adopt. If your organization is using the RescueGroups.org Website Service, you can also share this group of names with other RescueGroups.org organizations.
To be able to view contact groups and their members and add and remove contacts to a group, a volunteer must have the role of Contacts Add. For information about and instructions on adding and removing roles, see the User Guide section User Login Accounts.
Adding contacts to groups
To add a Contact to a group such as Do Not Adopt, Donors, or Volunteers:
- Go to Contacts > Contacts List.
- Locate the contact in the list and click the Edit icon.
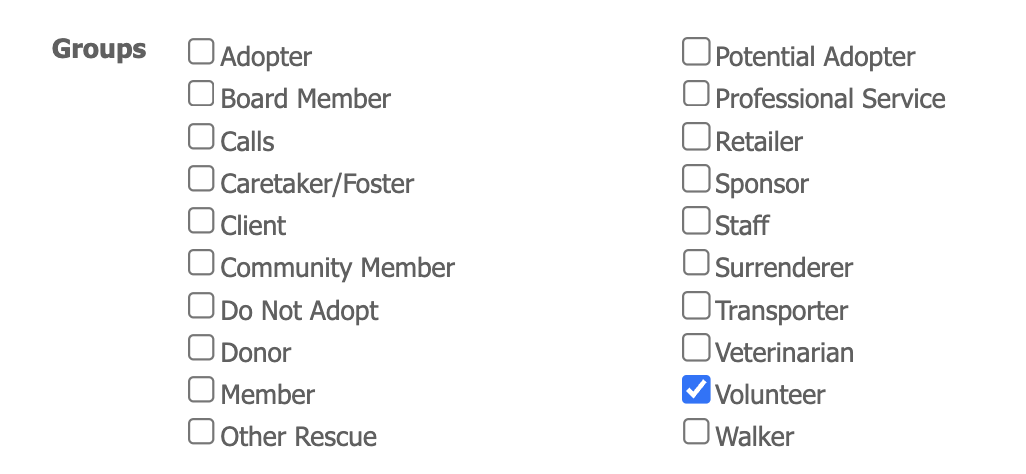
- Select the check box for the group to which you want to add the contact.
- Click Save.
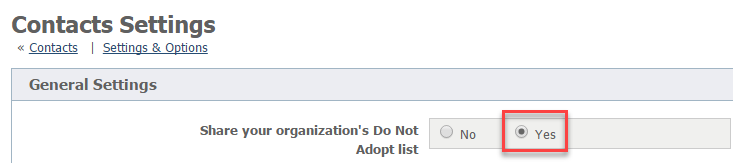
The Do Not Adopt group is a special group. It can be shared with other RescueGroups.org organizations, if you are signed up for the Website Service.
Organizations using the RescueGroups.org Website Service can choose to share their DNA list. If you would like to share your organization's DNA list with other RescueGroups.org organization, go to Contacts > Settings, and enable the option Share your organization's Do Not Adopt list.
The Volunteer Contact Group is special!
Adding a contact to the Volunteer Contact Group will allow your team to select this specific contact in certain dropdown menus such as assigning submitted forms or sending contact reminders. We strongly suggest that you add any contact to the Volunteer Contact Group if they help you with your RescueGroups.org account management, such as managing submitted forms at your rescue.
Adding a Contacts Group
To add a contact group, go to Contacts > Groups, and select the Add a Contact Group button at the top of the list. Simply identify the group by name, select whether it is a business or not, then save the group.
Viewing Members of a Contact Group
You can view members of contact groups (and even export this information!) by:
- Go to Contacts Groups page by going to Contacts > Groups
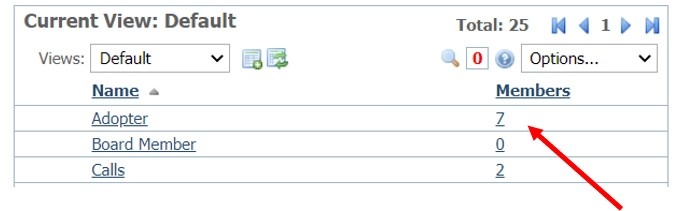
- Find the Group you are looking for (ex. Adoptors). Hit the number under the Members column (Ex. 7)
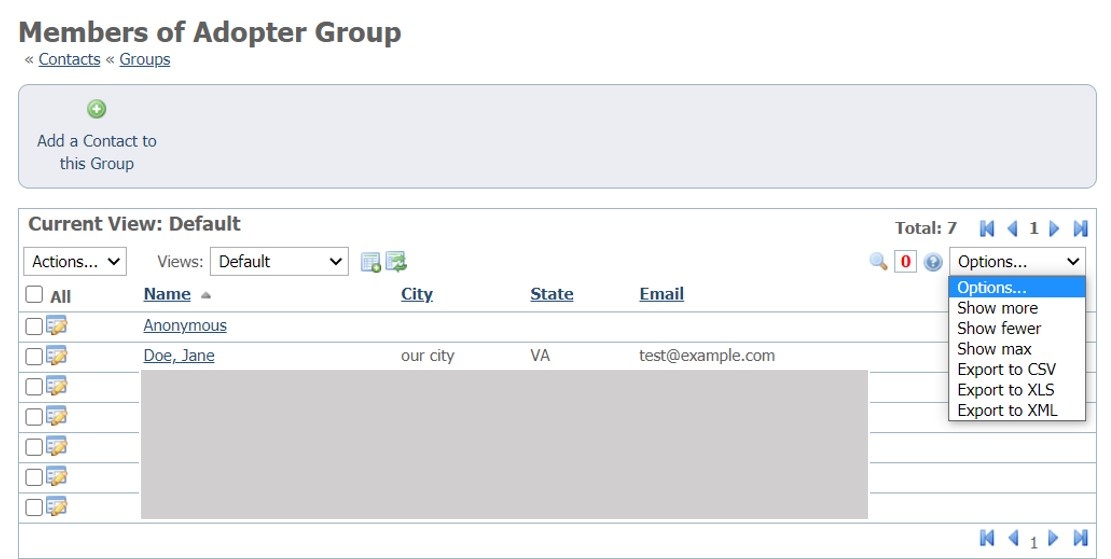
- Then you are taken to a table that displays all members of that group. You can use the options dropdown to export data if desired.
Example: If you look at the first example image below, if we wanted to see our Adopter group we would hit the 7. The second example image shows the 7 members of the group including links to their contact pages. The options dropdown at the left also allows you to export this to a spreadsheet program of choice if desired.
Removing or Deleting Members of a Contact Group
There are two ways to remove a contact from a a goup.
Option 1: From the Contact Page
To remove a contact from a group first location your contact, usually via a search. Then, using the blue links at the top find the Groups link. Select that link.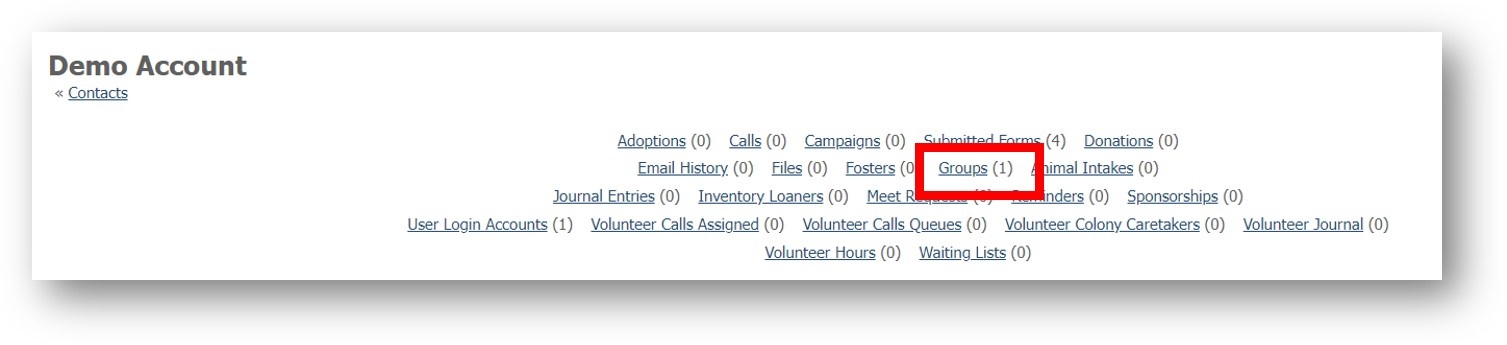
Check the box beside the group you want to remove from the contact and use the Actions Dropdown to select remove. Then click OK on the next popup.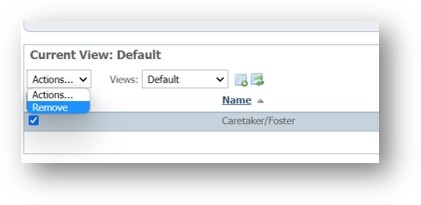
Option 2: From the Group list
Once on RescueGroups.org go to Contacts > Groups then select the list you want to remove members from. Click on the Number next to that group. This will pull up a page with members of that group. Check the box beside the contact you want to remove and use the Actions Dropdown to select remove. Then click OK on the next popup.
Overview
Content Tools